Once you have at least one ready edge node, the next step is to declare the sites you want the WAF to protect. Each site is a domain tied to one or more origins (origin servers). VulnScan guides you through a three-step wizard, then requires you to verify ownership via DNS before any rule takes effect.
Add a site
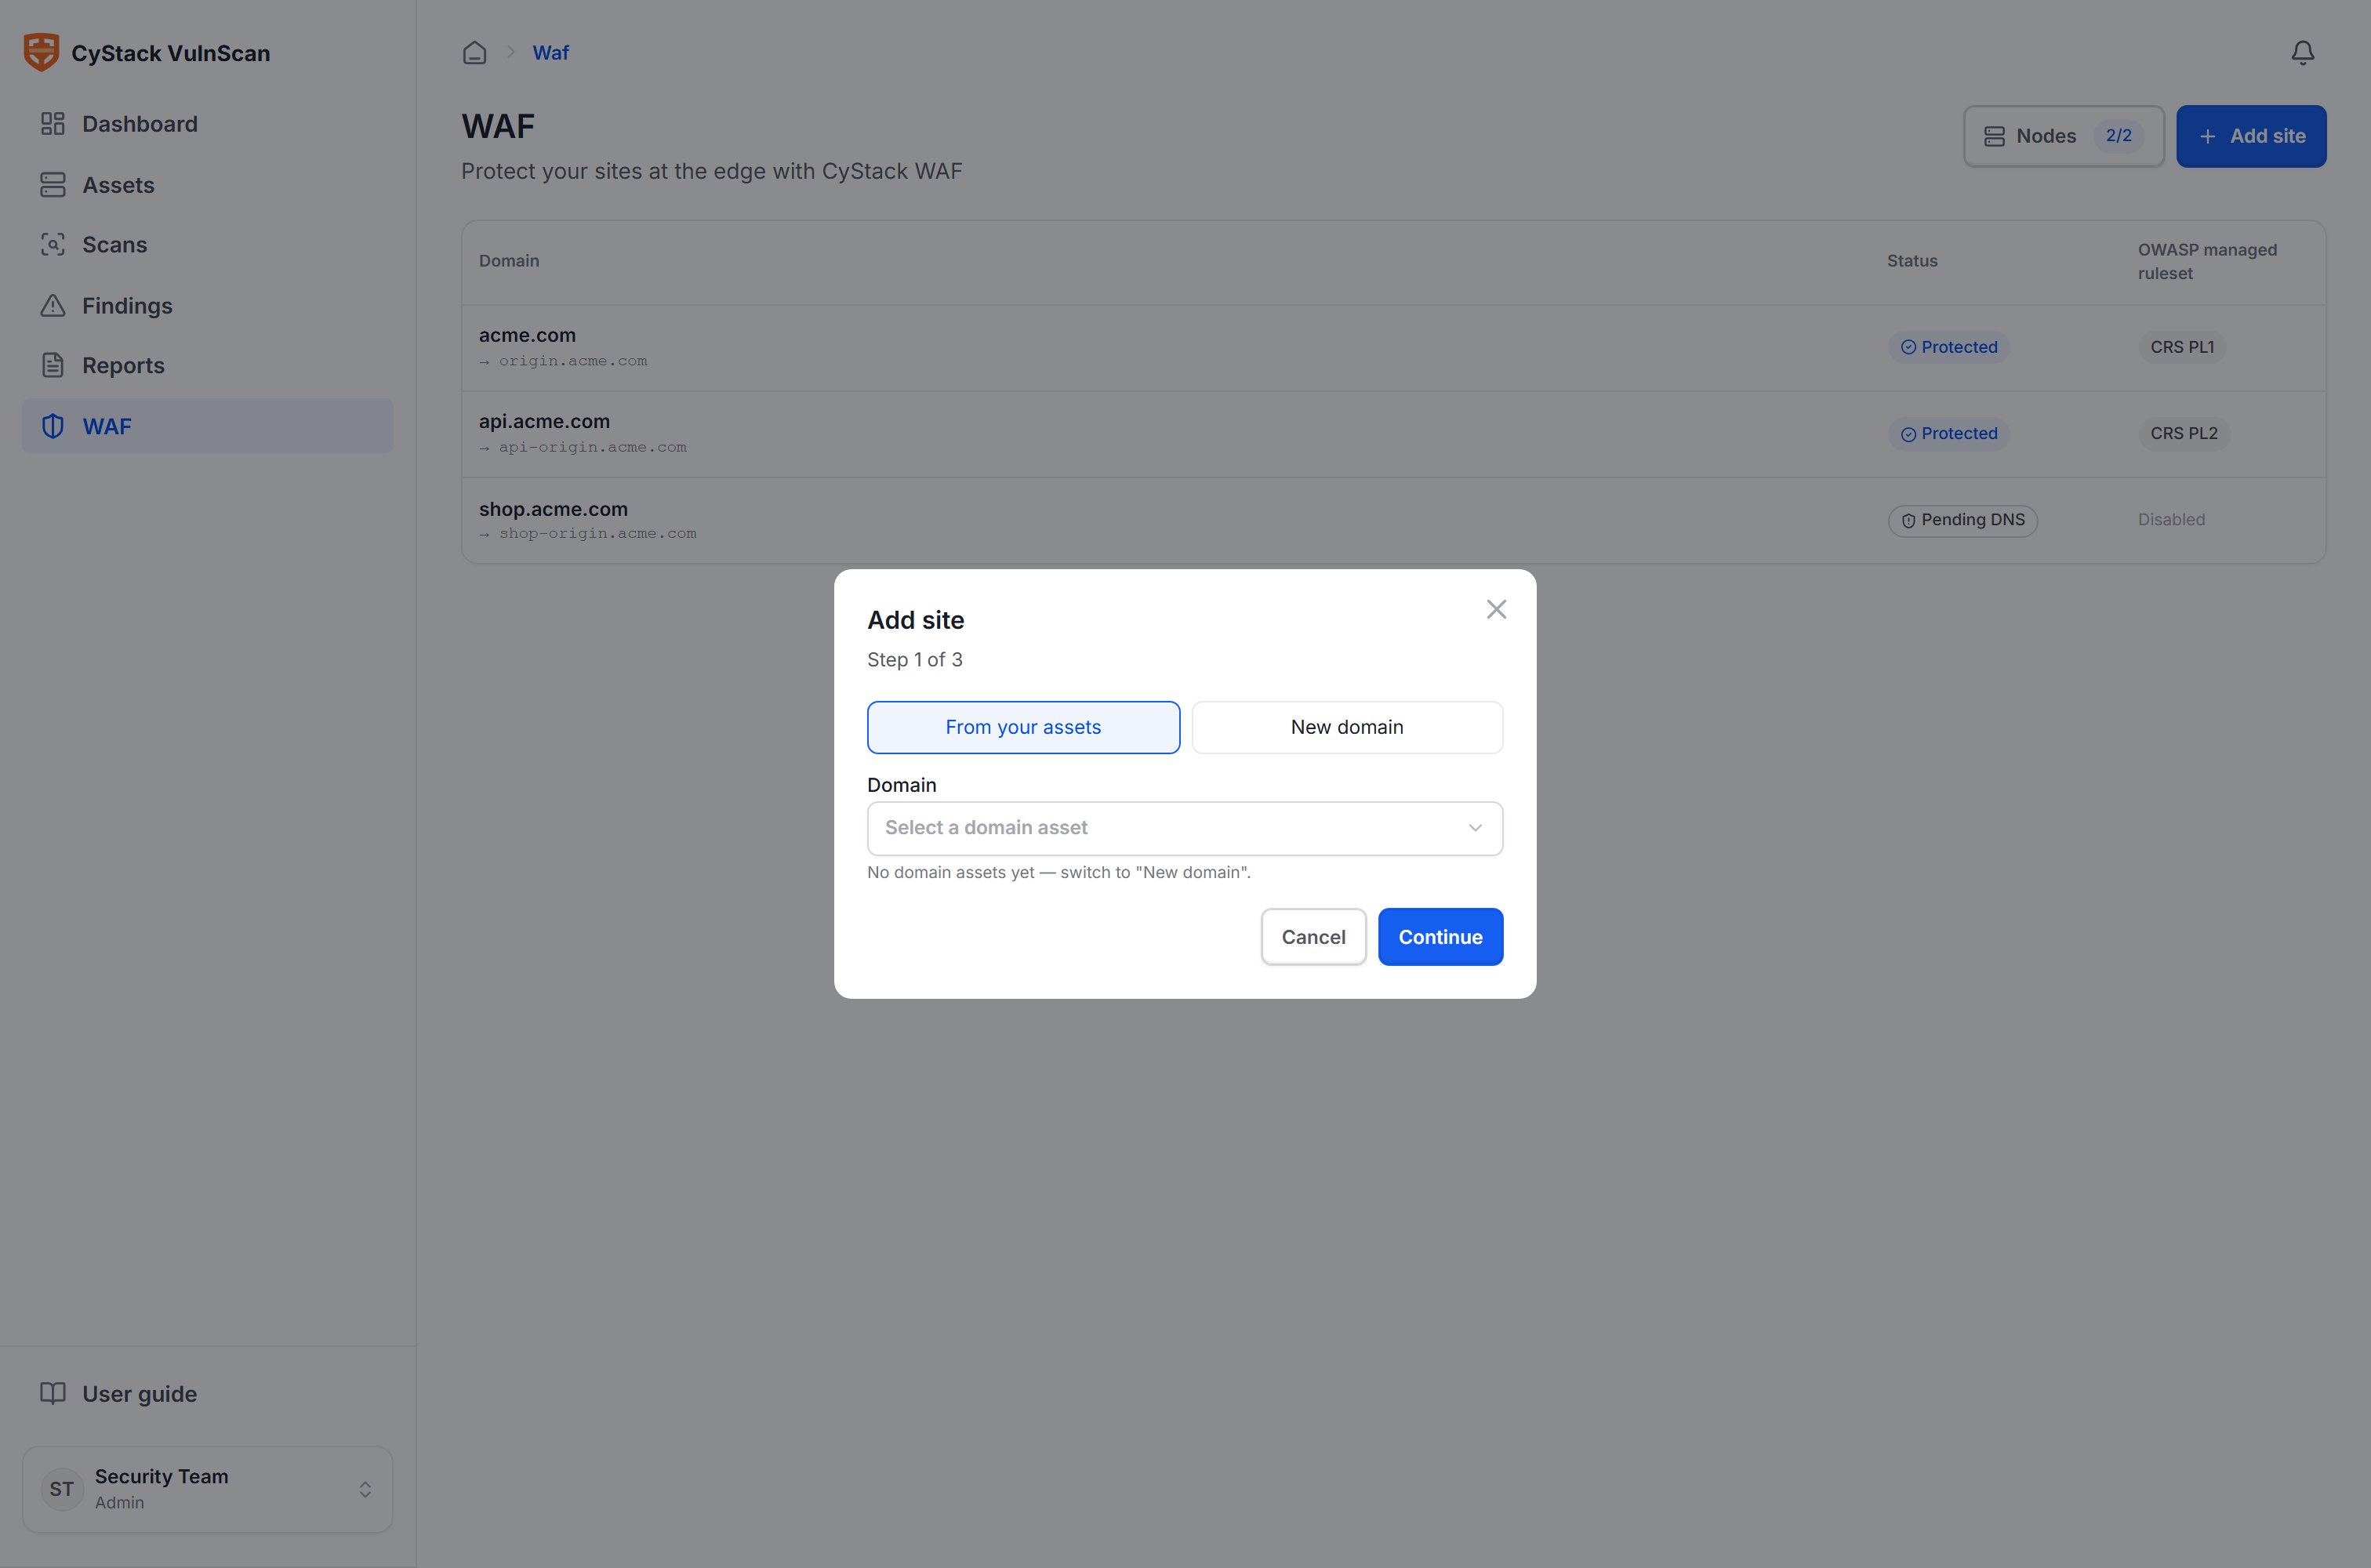
Open the WAF section and select Add site. The wizard has three steps:
Step 1 — Choose a domain
Select a domain already in your asset list, or enter a new domain. The system validates the domain format and detects duplicates. The example used throughout this documentation is acme.com.
VulnScan resolves the domain’s current DNS records to suggest an origin. The origin is where the node will forward valid requests — typically the application’s internal IP or hostname, for example origin.acme.com.
- You can edit or add multiple origins manually.
- The Test origin button attempts a connection to the origin from the console and reports the protocol (HTTP/HTTPS), status code, and certificate validity.
- The system warns you if the domain is currently being proxied through another service, to avoid creating a loop.
Use a dedicated origin (for example origin.acme.com) that points straight to the origin server, rather than pointing back to the public domain that the WAF is protecting. This avoids traffic looping back through the node.
Step 3 — Point DNS and verify
The console provides a managed domain in the form vs-<code>.cystack.io (for example vs-7f3a9.cystack.io). Update your domain’s DNS to route traffic through the edge nodes, using one of two methods:
| DNS method | Record | When to use |
|---|
| CNAME to the managed domain | CNAME acme.com → vs-7f3a9.cystack.io | The recommended method; works even when the domain sits behind another DNS/CDN service. |
| A record to a node IP | A acme.com → 203.0.113.10 | When you want to point directly to the public IP of an edge node. |
- The site moves to the Protected state and unlocks rule configuration.
- The domain is added to the asset list if it is still within the license scope.
- The system automatically re-checks periodically while a site is unverified.
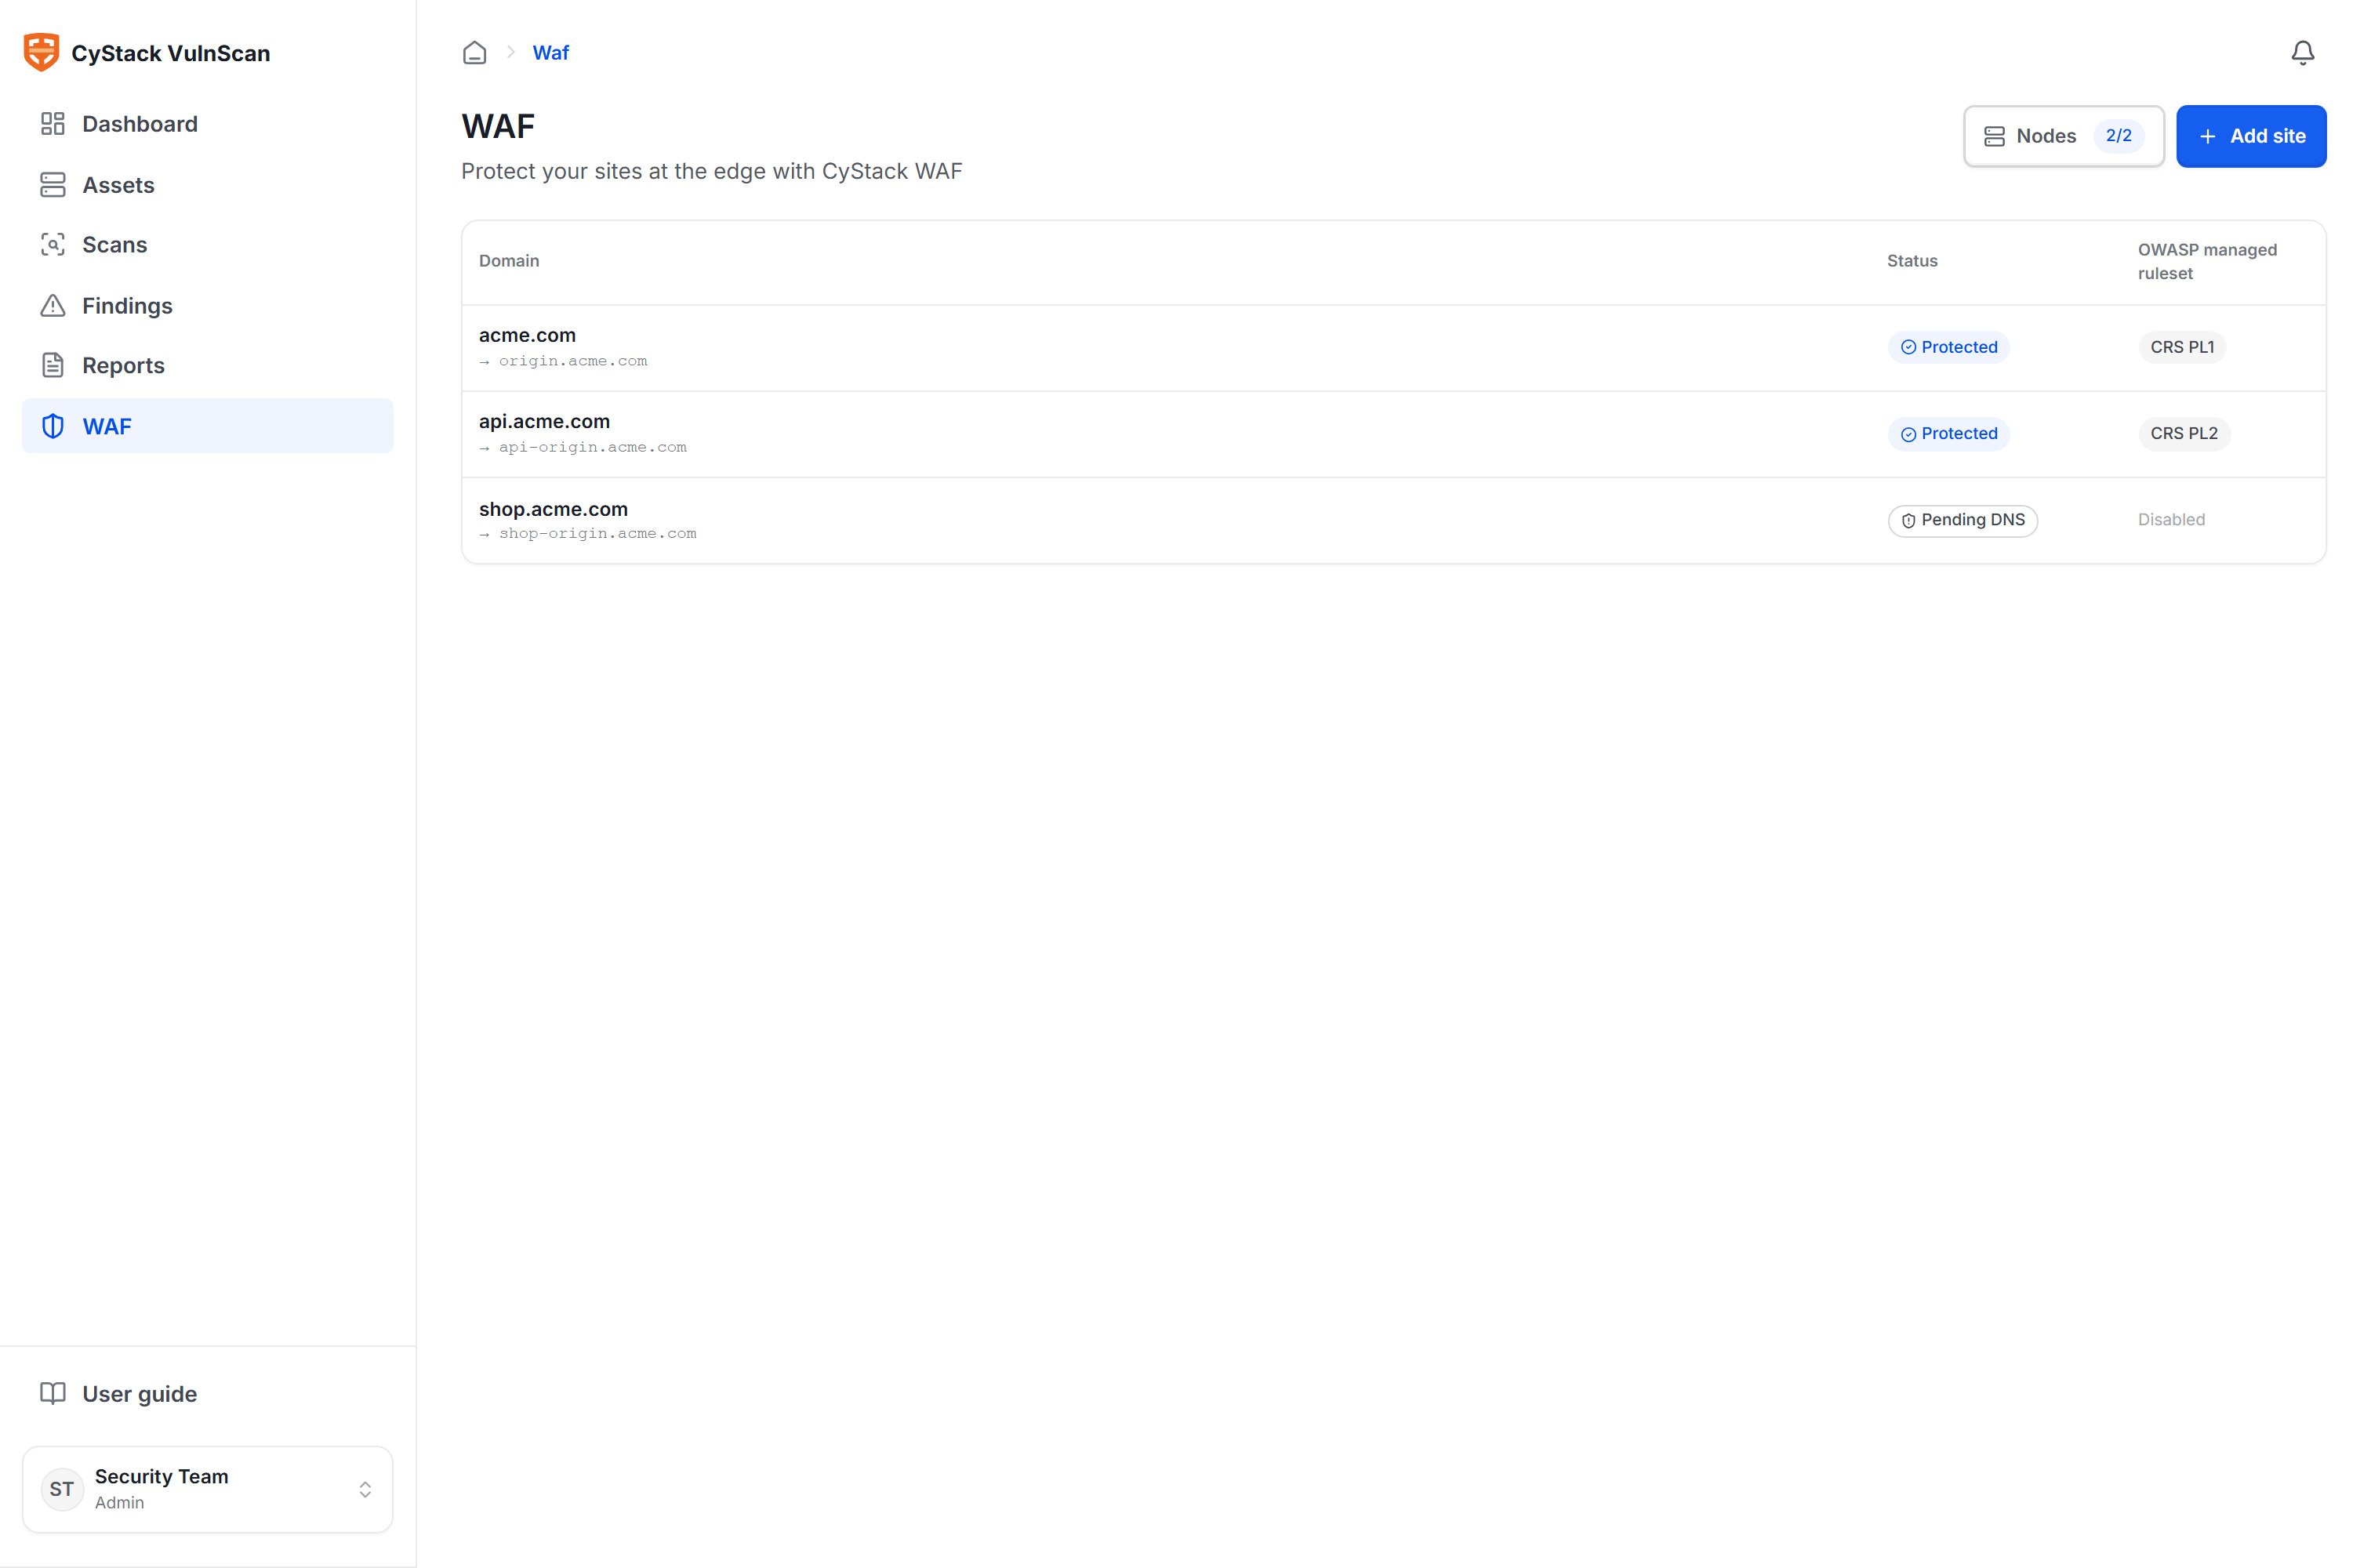
Site status
The site list shows the aggregated operational status of each domain:
| Status | Meaning |
|---|
| Protected | DNS is pointed correctly, the node can serve the site, the origin is reachable, and the certificate is valid. |
| Pending DNS | The site was created but DNS is not yet verified; rules are not yet in effect. |
| Warning | DNS is verified, but a node cannot reach the origin or there is a certificate problem. |
| Down | No ready node is available to serve the site. |
CRS PL1), or whether it is turned off.
Site configuration
Open a site and go to the Settings section to adjust:
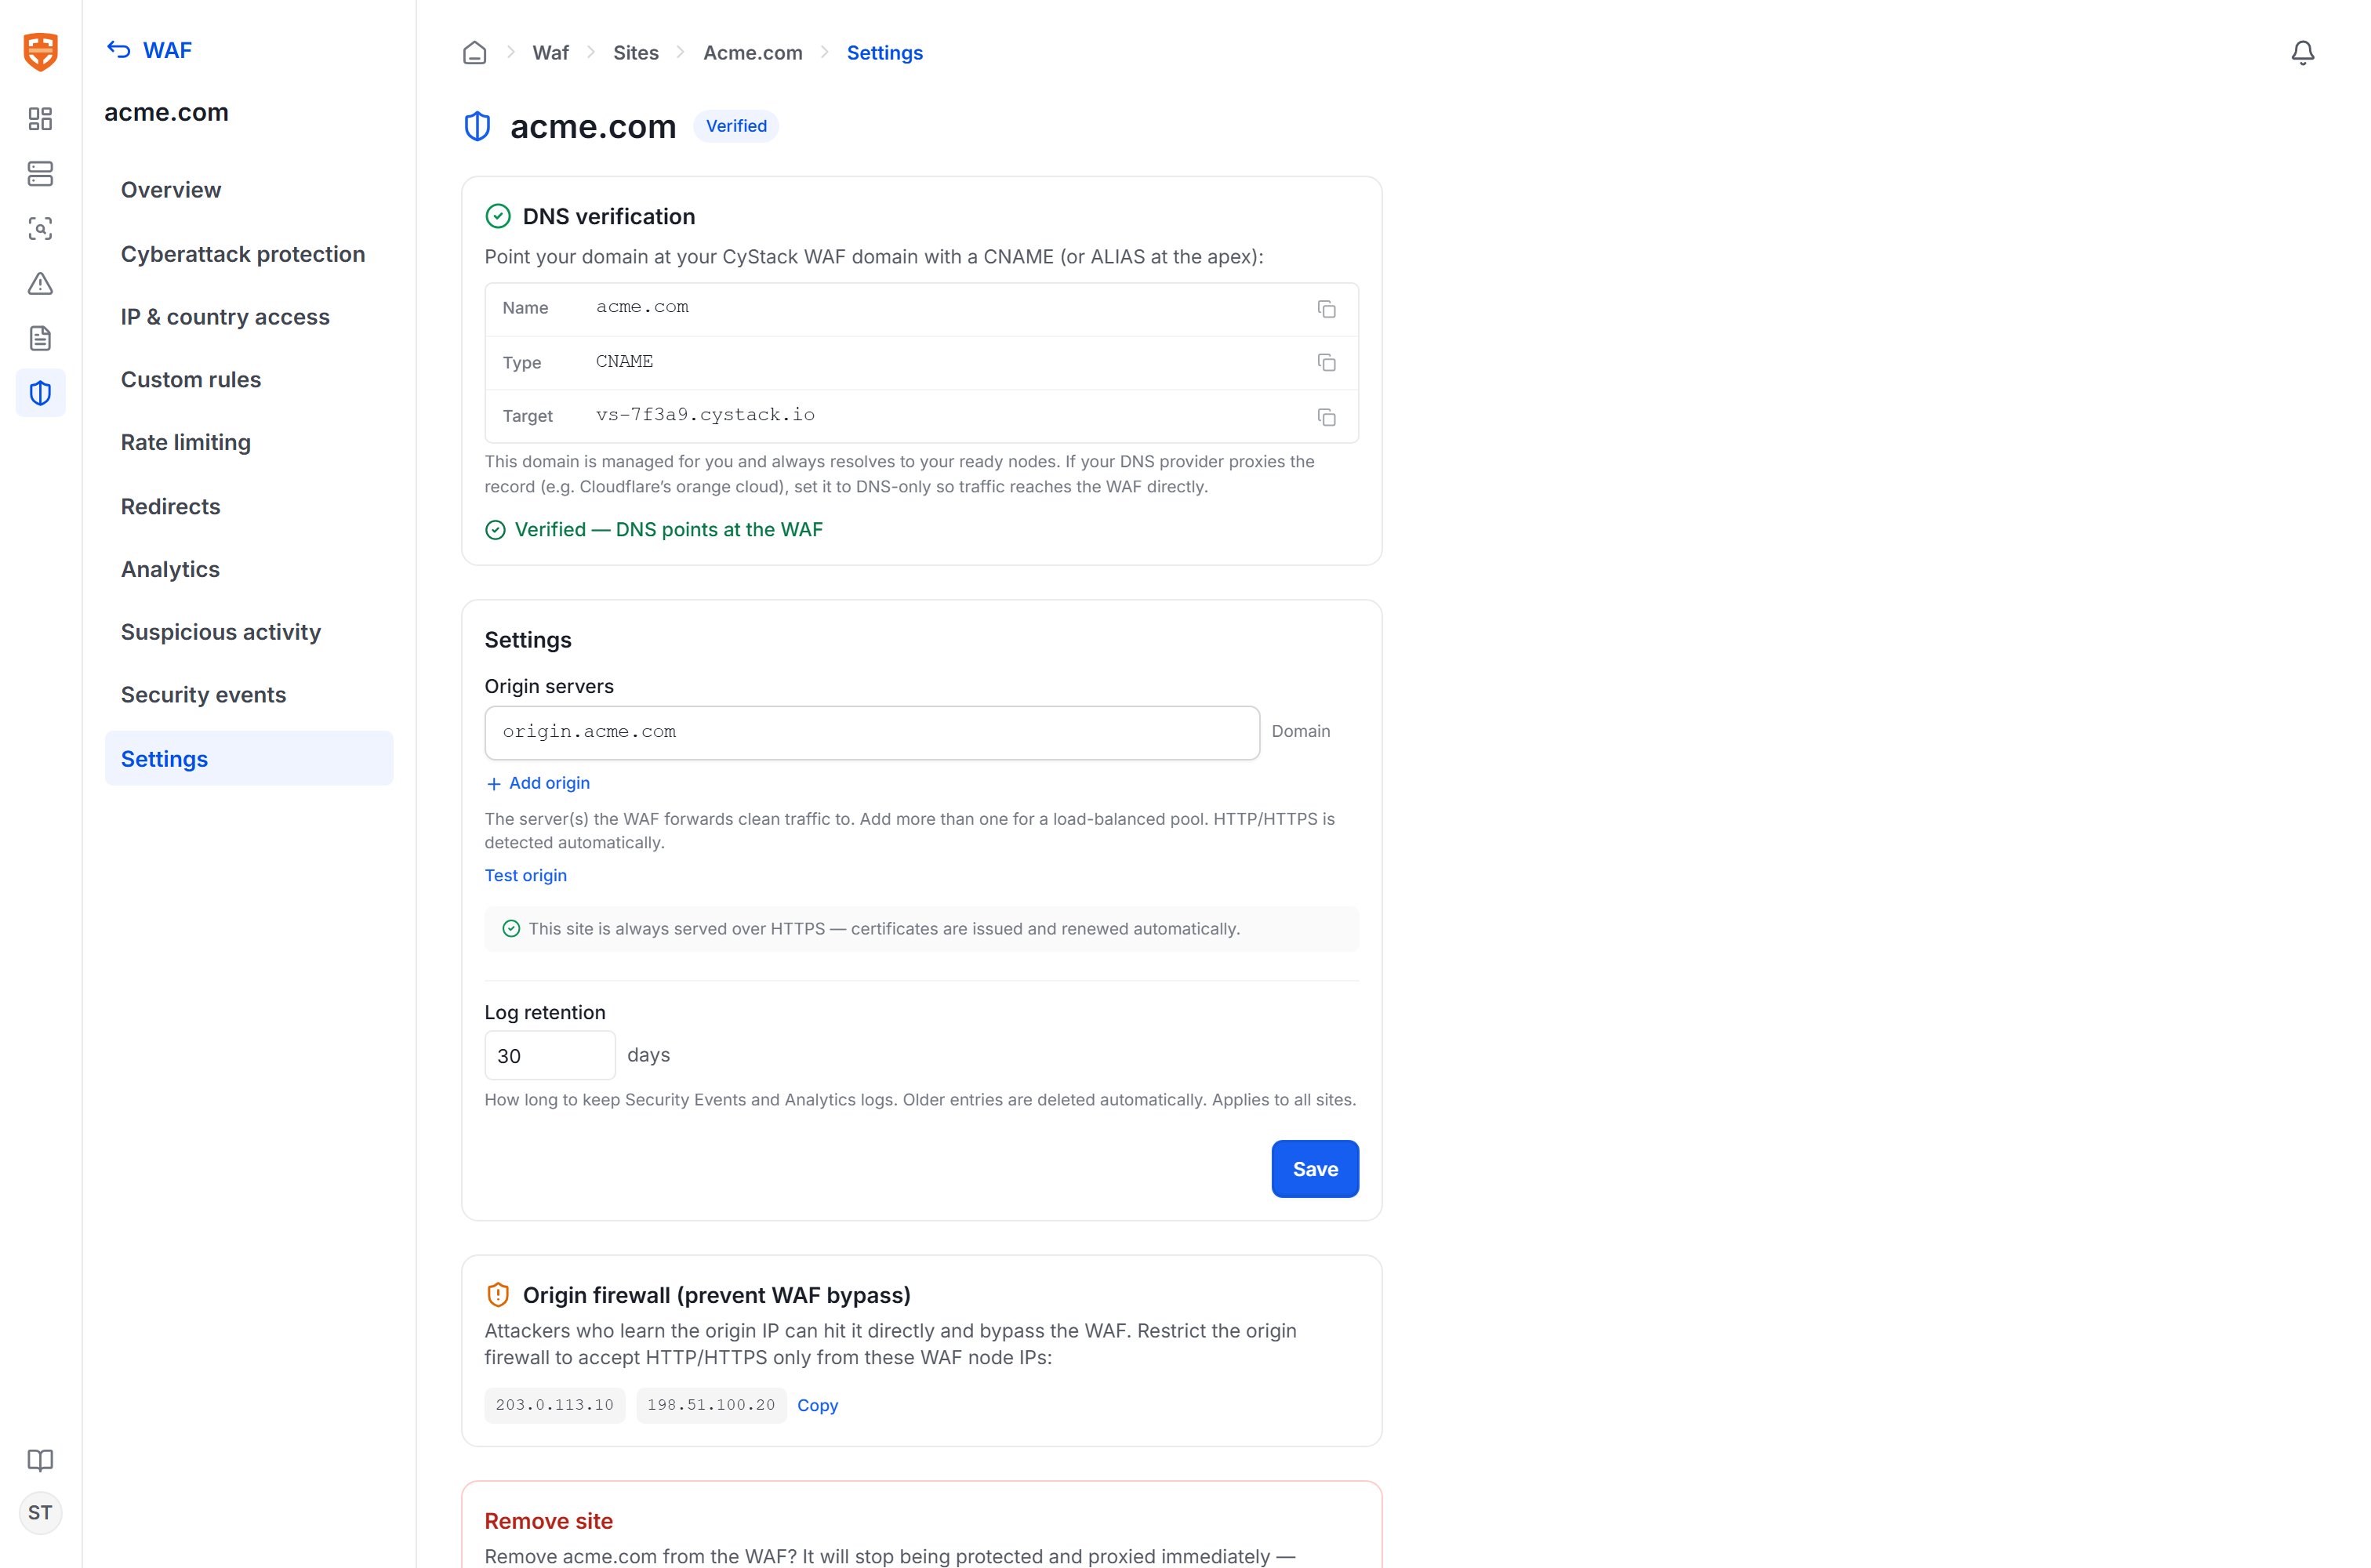
- Domain: changing it requires re-verification.
- Origin: add or remove origin servers.
- Enable/disable site: pause protection without deleting the configuration.
- TLS: choose how HTTP/HTTPS is handled.
- Re-verify: check DNS manually and view the most recent verification time along with node status.
After verification
Once a site is in the Protected state, continue with: