> ## Documentation Index
> Fetch the complete documentation index at: https://docs.cystack.net/llms.txt
> Use this file to discover all available pages before exploring further.
# Web Access Control
> Control website access according to enterprise policies
## Web Access Control
**Use Cases:**
* Block access to social media or entertainment sites during business hours to help employees stay focused.
* Restrict access to sensitive internal portals to authorized personnel only, prevent unauthorized access to internal resources.
### Block Websites by Category
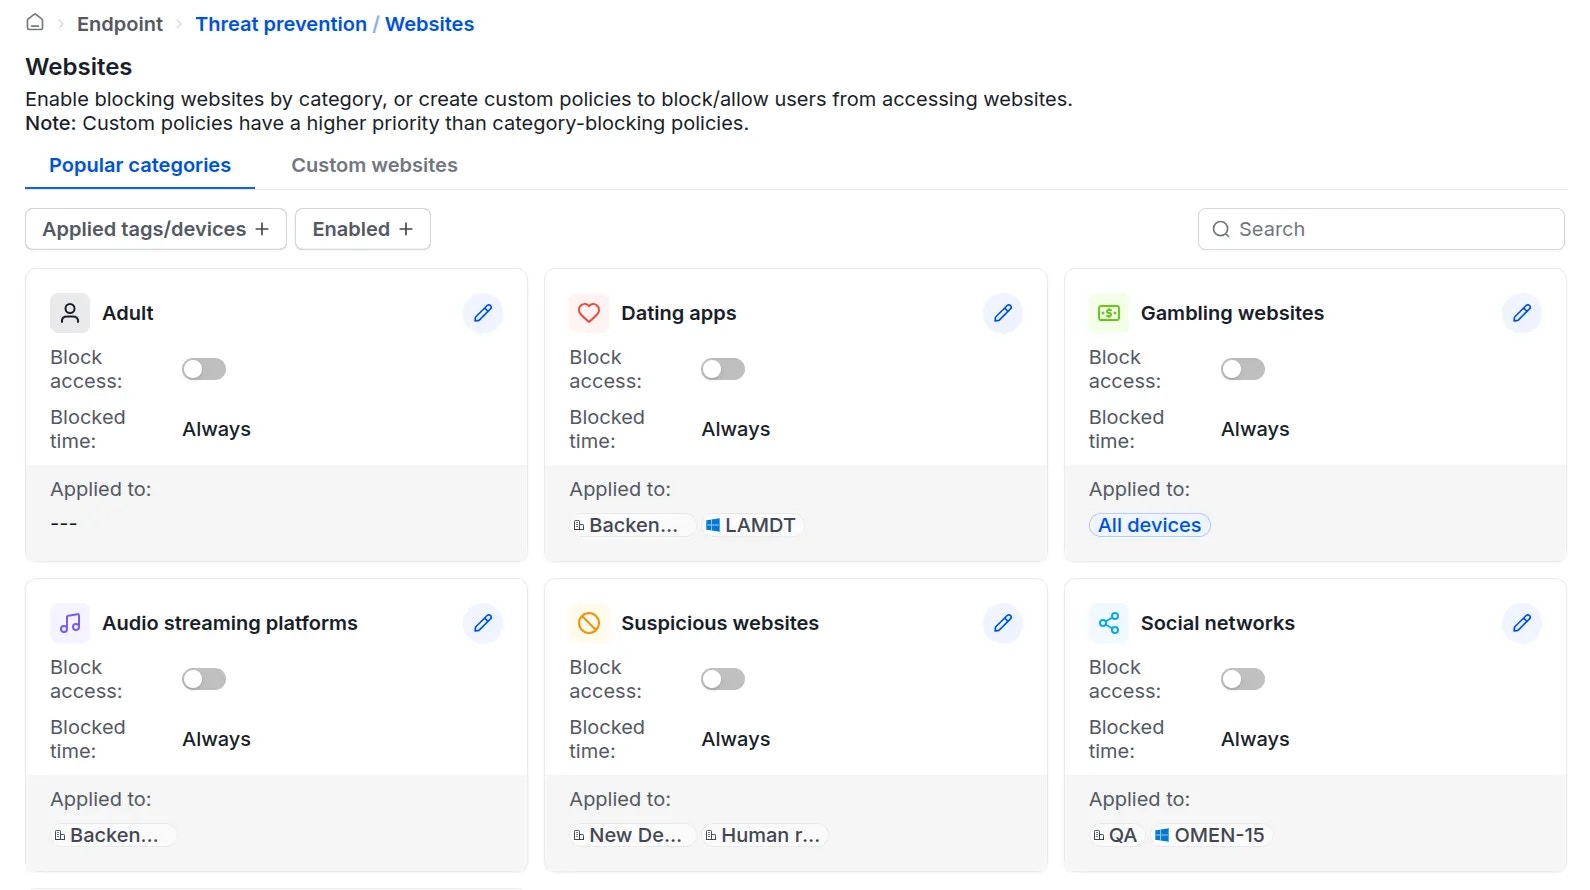
The solution provides predefined categories, enabling administrators to quickly configure blocking rules for common website types. To restrict employee access to websites within specific categories, follow these steps:
Navigate to "Endpoint" {'\u2192'} "Prevention" {'\u2192'} "Websites".} />
Enable the policy corresponding to the target category, e.g., Social networks.} />
In the popup window, select the devices to apply the policy to and define the specific schedule for the restriction.} />
Once saved, the selected devices will be denied access to any websites falling under the selected category.
 ### Allow or Block Specific Websites
In addition to category-based filtering, administrators can explicitly block or allow access to specific domains. For example:
* Grant specific Marketing staff access to TikTok for brand development, while blocking social media access for the rest of the organization.
To create a custom policy, perform the following steps:
In the Custom websites tab, click the
### Allow or Block Specific Websites
In addition to category-based filtering, administrators can explicitly block or allow access to specific domains. For example:
* Grant specific Marketing staff access to TikTok for brand development, while blocking social media access for the rest of the organization.
To create a custom policy, perform the following steps:
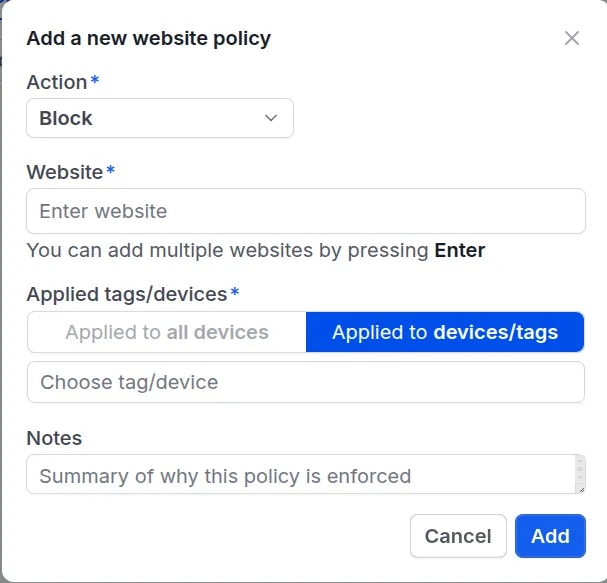
In the Custom websites tab, click the Add web policy button.} />
Select the action Block or Allow, enter the target domain name, and select the applicable devices.}>
 **Example:**
* Device
**Example:**
* Device ping-PC with the tag Dev has a "Block facebook.com" policy with a priority of 2.
* However, the same ping-PC device also has the tag Lead, which has an "Allow facebook.com" policy with a priority of 1.
{'\u2192'} The ping-PC device will be **allowed** to access facebook.com.