> ## Documentation Index
> Fetch the complete documentation index at: https://docs.cystack.net/llms.txt
> Use this file to discover all available pages before exploring further.
# Install Agent on Devices
> Guide to installing the Endpoint agent for device management
The **CyStack Agent** is a tool that must be installed on user devices to enable device management features.
Installing the agent takes only a few minutes and allows organizations to quickly protect and manage IT assets effectively. The process involves:
***
## 1. Install the agent on the device
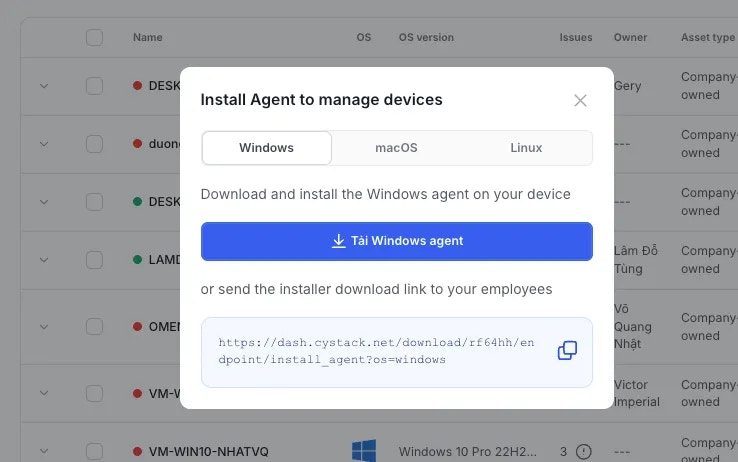
Click the Install agent button and select the Windows operating system. You can:
* Click the Download button to get the installer file, or
* Click the Copy button to copy the link and send it to other employees in the organization.
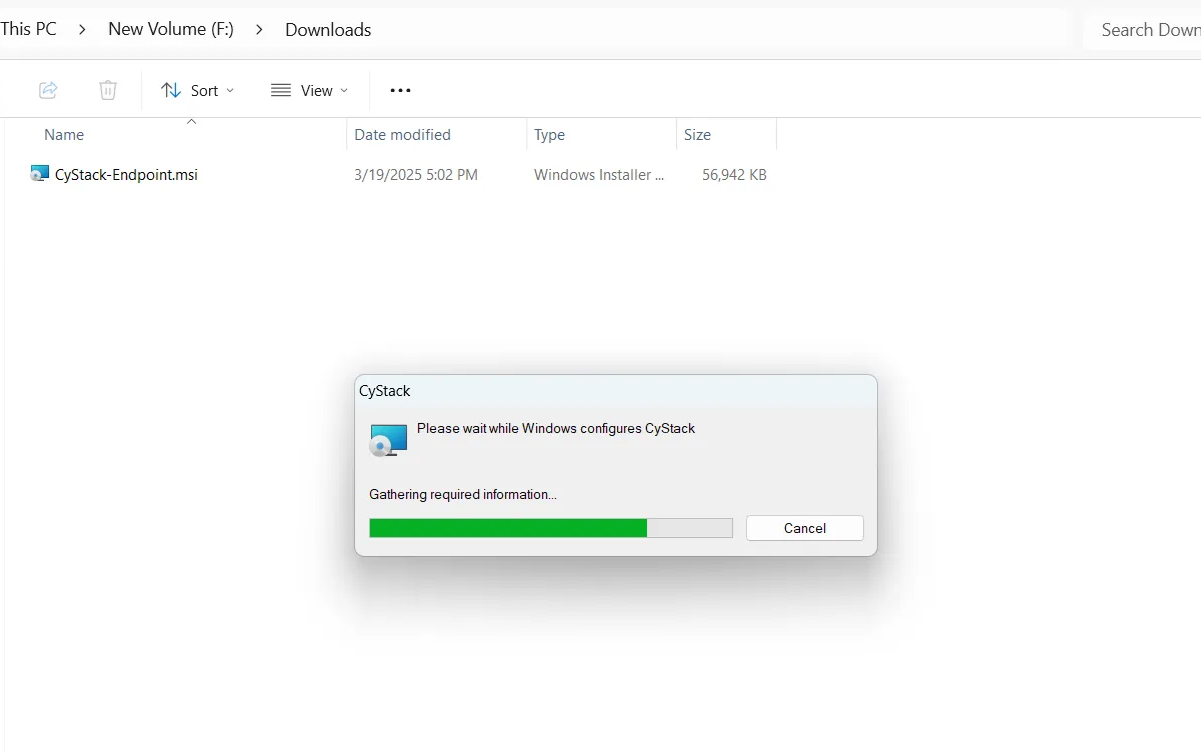
When using Endpoint for the first time, you may need to wait 3–5 minutes for the system to prepare the installation file.
 Click the
 Install agent button and select the macOS operating system. You will see the installation command below:
```bash title="Installation command for macOS" theme={null}
curl -s "https://id.cystack.net/scripts/endpoint-macos-installer.sh" | bash -s [workspace-id]
```
Click the Copy button to copy the command and send it to employees.} />
On the computer, open Spotlight Search, type Terminal, and open the application.} />
Paste the command into Terminal and press Enter to begin installation.} />
 Click the
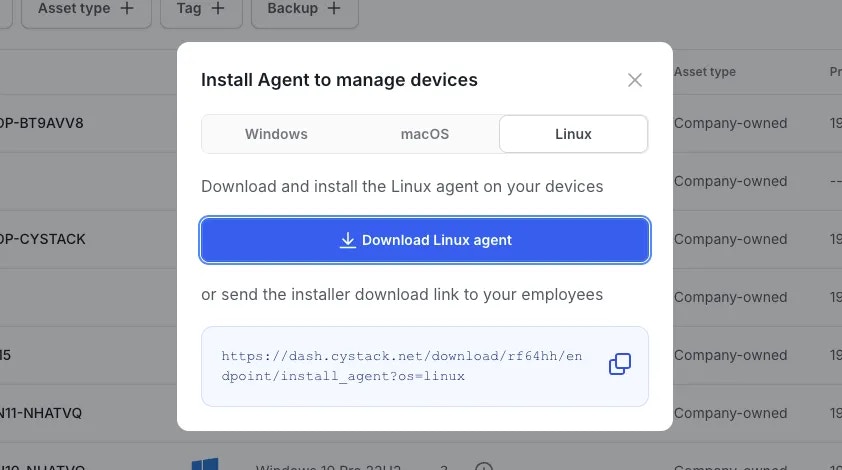
 Install agent button and select the Linux operating system. You can:
* Click the Download button to get the installer file, or
* Click the Copy button to copy the link and send it to other employees in the organization.
When using Endpoint for the first time, you may need to wait 3–5 minutes for the system to prepare the installation file.
 Open
Open Terminal, enter the command below, and press Enter:}>
```bash theme={null}
sudo dpkg -i
```
## 2. Log in and authenticate devices
After installation is complete, a window will appear prompting you to log in.}>
 Click the
 Log in button; the browser will automatically open the login page.}>
 * **SSO (Single Sign-On)**: Quick login using a Google or GitHub account linked to the organization's email.
* **Email**:
* Enter the organization email address.
* Receive a one-time login link via email.
* Click the link to verify.
After logging in, the browser will prompt you to open the app. Simply allow the request to proceed.
* **SSO (Single Sign-On)**: Quick login using a Google or GitHub account linked to the organization's email.
* **Email**:
* Enter the organization email address.
* Receive a one-time login link via email.
* Click the link to verify.
After logging in, the browser will prompt you to open the app. Simply allow the request to proceed.
 For servers or when accessing a device remotely, you can log in using the command line:
Open
For servers or when accessing a device remotely, you can log in using the command line:
Open Terminal/CMD and type the command appropriate for your operating system (do not press Enter yet):}>
| **OS** | **Path** |
| ------- | ------------------------------------------------------------------------------------------ |
| Windows | `C:\Program Files\CyStack\bin\cystack_agent\windows\stable\cystack_agent login --deeplink` |
| macOS | `/opt/cystack/bin/cystack_agent/macos/stable/cystack_agent login --deeplink` |
| Linux | `/opt/cystack/bin/cystack_agent/linux/stable/cystack_agent login --deeplink` |
[https://id.cystack.net/?SERVICE\_URL=%2F\&SERVICE\_SCOPE=whitehub\&lang=en\&CLIENT=desktop](https://id.cystack.net/?SERVICE_URL=%2F\&SERVICE_SCOPE=whitehub\&lang=en\&CLIENT=desktop)
On the redirect page after logging in, right-click the text "click here" and select Copy link address.}>
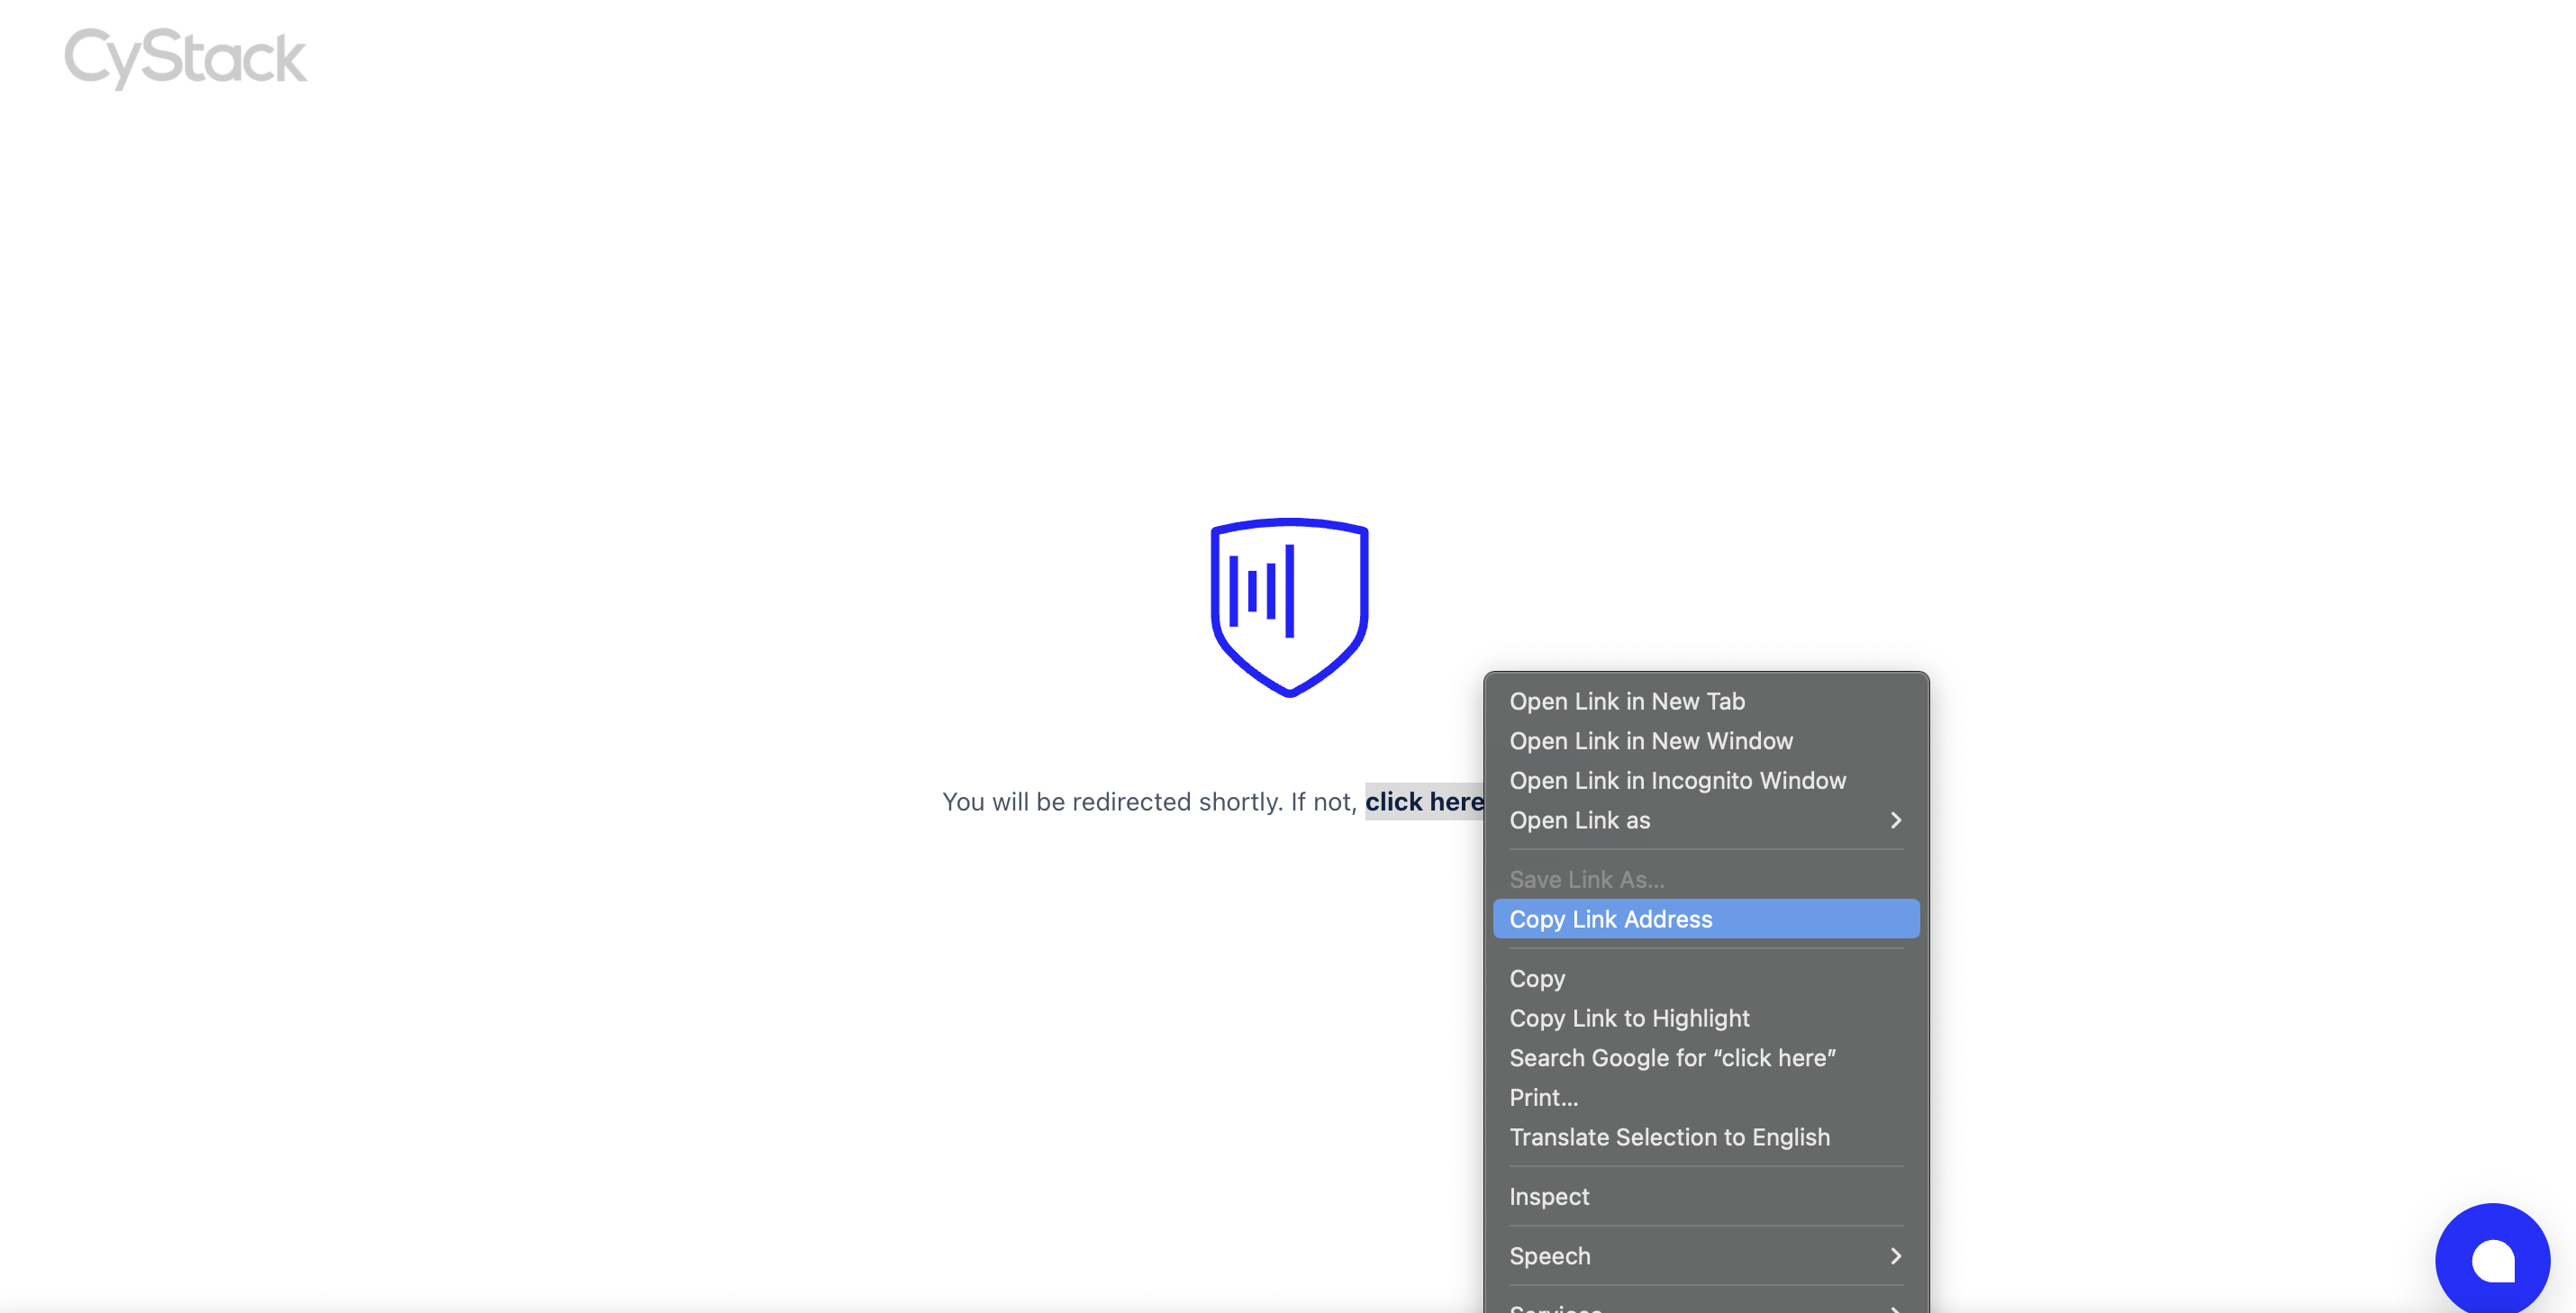 The copied link will look like `cystack://?token=...`
Paste the copied link into the end of the previous command in your terminal. Important: You must enclose the pasted link in double quotes (").}>
Example on Linux:
```bash theme={null}
/opt/cystack/bin/cystack_agent/linux/stable/cystack_agent login --deeplink "cystack://?token=..."
```
## 3. Completion and connection check
Admins can check connection status and device information, as well as enable policies for the device and user.
* **For new users:** A new drive will be created.
* **For users who previously used CyStack Endpoint on another device and have a backup:** You can opt to restore data from the backup or set up a fresh drive.
* **On Windows:** After successfully creating the new drive, you must **save the BitLocker recovery key** for future data recovery.
**Note:** On Windows devices, data in this drive is encrypted using [BitLocker](https://learn.microsoft.com/en-us/windows/security/operating-system-security/data-protection/bitlocker/). Data protection features for macOS and Linux environments are currently under development.
## 4. Create a non-admin local user
Administrators can create a standard local user account (without admin privileges) on the managed device for employee use. This account has restricted system access and disallows the installation of unauthorized software or changes to security configurations, ensuring the employee complies with device policies.
Follow the steps below to create a non-admin local user:
Search for
The copied link will look like `cystack://?token=...`
Paste the copied link into the end of the previous command in your terminal. Important: You must enclose the pasted link in double quotes (").}>
Example on Linux:
```bash theme={null}
/opt/cystack/bin/cystack_agent/linux/stable/cystack_agent login --deeplink "cystack://?token=..."
```
## 3. Completion and connection check
Admins can check connection status and device information, as well as enable policies for the device and user.
* **For new users:** A new drive will be created.
* **For users who previously used CyStack Endpoint on another device and have a backup:** You can opt to restore data from the backup or set up a fresh drive.
* **On Windows:** After successfully creating the new drive, you must **save the BitLocker recovery key** for future data recovery.
**Note:** On Windows devices, data in this drive is encrypted using [BitLocker](https://learn.microsoft.com/en-us/windows/security/operating-system-security/data-protection/bitlocker/). Data protection features for macOS and Linux environments are currently under development.
## 4. Create a non-admin local user
Administrators can create a standard local user account (without admin privileges) on the managed device for employee use. This account has restricted system access and disallows the installation of unauthorized software or changes to security configurations, ensuring the employee complies with device policies.
Follow the steps below to create a non-admin local user:
Search for Command Prompt {'\u2192'} right-click {'\u2192'} select Run as administrator.} />
In the CMD window, type the command below and press Enter:}>
```bash theme={null}
net user [local_username] [password] /add
```
Log in with an admin account on the device and open System Settings.} />
Search for and navigate to Users & Groups.} />
Click the Add User button.} />
* **Account Type:** Select Standard.
* Enter **Account Name** and **Password**.
Finalize the information and click Create User.} />